Deprecation notice: As of mid-2022, the FreshBooks (Classic) product and API have been discontinued by FreshBooks. This add-on is no longer available for download.
If you would like Gravity Forms to consider supporting other FreshBooks products, you can register your interest on our Product Feature Roadmap page.
To begin using the FreshBooks Add-On, you will first need to obtain and save your FreshBooks API settings. In this article, we will show you how to get started with obtaining your FreshBooks API credentials, as well as saving them inside the settings page.
- Log into your FreshBooks account.
 Click on My Account at the top right of the page.
 Click on FreshBooks API.
 You should now see your API URL as well as your Authentication Token. Make note of these as you will be inputting them into the FreshBooks Add-On shortly.
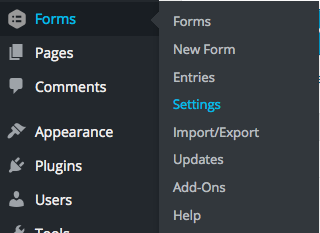
 Log into your WordPress admin dashboard and hover over Forms, then click on Settings.


- Click on the FreshBooks tab.
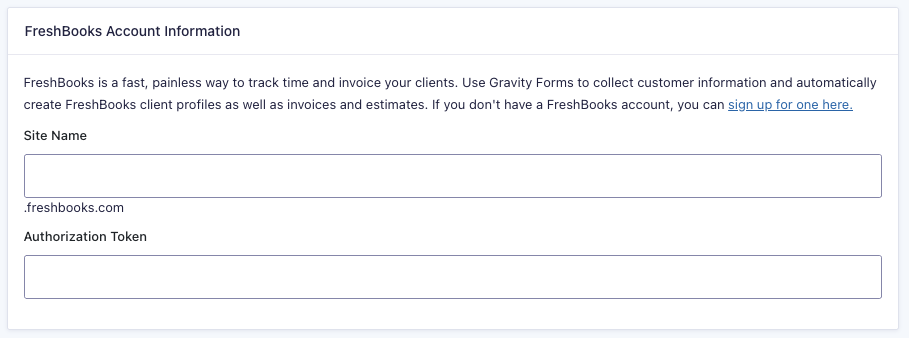
- You will see two fields, Site Name and Authorization Token. Within the Site Name field, enter only the beginning of your API URL. For example, if your full API URL reads https://exampleuser.freshbooks.com/api/2.1/xml-in, simply enter exampleuser into this field. In the Authorization Token field, enter the authorization token that you obtained from FreshBooks.
- Click the Update Settings button to save your changes.
You have now successfully configured the FreshBooks Add-On for Gravity Forms to communicate with the FreshBooks API. You’re now ready to setup a feed within the FreshBooks Add-On.