Introduction
The Gravity Forms Zapier Add-On allows you to integrate Gravity Forms with over 200+ (and counting) online services. Zapier enables you to automate tasks between other online services such as Salesforce, Basecamp, GMail, and over 200 more.
Capture data via a Gravity Form that automatically creates a lead in Salesforce, a new row in a Google Spreadsheet, and a new calendar event in Google Calendar. All from the same single form submission.
The Gravity Forms Zapier Add-On does not replace our existing add-ons such as MailChimp, Campaign Monitor, etc. but does provide you with a way to integrate with services that we may not already support via official Add-Ons. Just as we consider Gravity Forms a swiss army knife for WordPress, Zapier is a swiss army knife for Gravity Forms.
In order to use the Gravity Forms Zapier Add-On you must have a Zapier account. Zapier is a paid service and pricing is based on volume and usage. You can find more about Zapier pricing here.
Unlike most Gravity Forms Add-Ons, the majority of the setup involved in integrating with Zapier will occur on the Zapier side via their customer dashboard. This does mean if you are having an issue with a Zap you have created in Zapier not behaving the way you expected, you may need to contact Zapier support for assistance for issues that occur within their Zapier Dashboard, Zap setup, and behavior.
Pre-Requisites
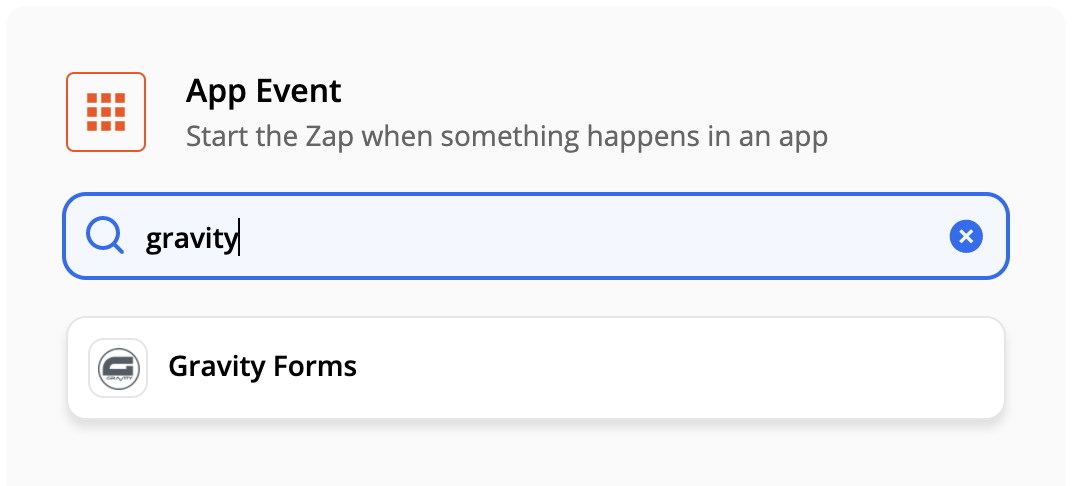
- Download and install the add-on
- A Zapier account
Signing up can be done quickly and easily and includes a 14-day free trial which gives you access to every regular and premium app. After the free trial, you can continue to use the free plan or select one of the available premium plans. - SSL Certificate Installed and Configured
- Website Accessible to the Internet. The new authentication from Zapier to Gravity Forms uses REST API so your website must be accessible to Zapier.
Quick Getting Started
- Create a Zapier REST API Connection under Forms, Settings, REST API. Save the Consumer Key and Consumer Secret for step 2.
- Create a Zapier App Connection to Gravity Forms in MyApps. You will use the Consumer Key and Consumer Secret from step 1
- Create a Gravity Form to send information to Zapier.
- Create a Zap under your Zapier account to connect to the form you created. You’ll use the Gravity Forms connection created in Step 2.
Setting up the Zapier Add-On
Use this reference to configure your Zapier Application Connection to Gravity Forms
Zapier Actions and Triggers
You can use your Gravity Forms as both a Zapier trigger and as a Zapier action.
In both cases, the set-up process is done completely from within your Zapier account.
Zaps
To start sending data between Zapier and your forms, create a Zap as normal from within your Zapier account. You’ll be using the Gravity Forms connection.
Zapier Help
Most of your configuration with Gravity Forms and Zapier will take place within your Zapier account. If you run into issues, and you’ve confirmed that Zapier is communicating with the REST API connection in Gravity Forms, you can reach out to Zapier for assistance. You can check out their help documentation here.
What Can You Do with Zapier and Gravity Forms?
Zapier has 2000+ of Web Applications that can potentially integrate with Gravity Forms. Check out some of the most popular Zaps that you can use to work with Gravity Forms and these applications.